$10 Smartphone to Digital Microscope Conversion!
Uros Jovicic
5 min read
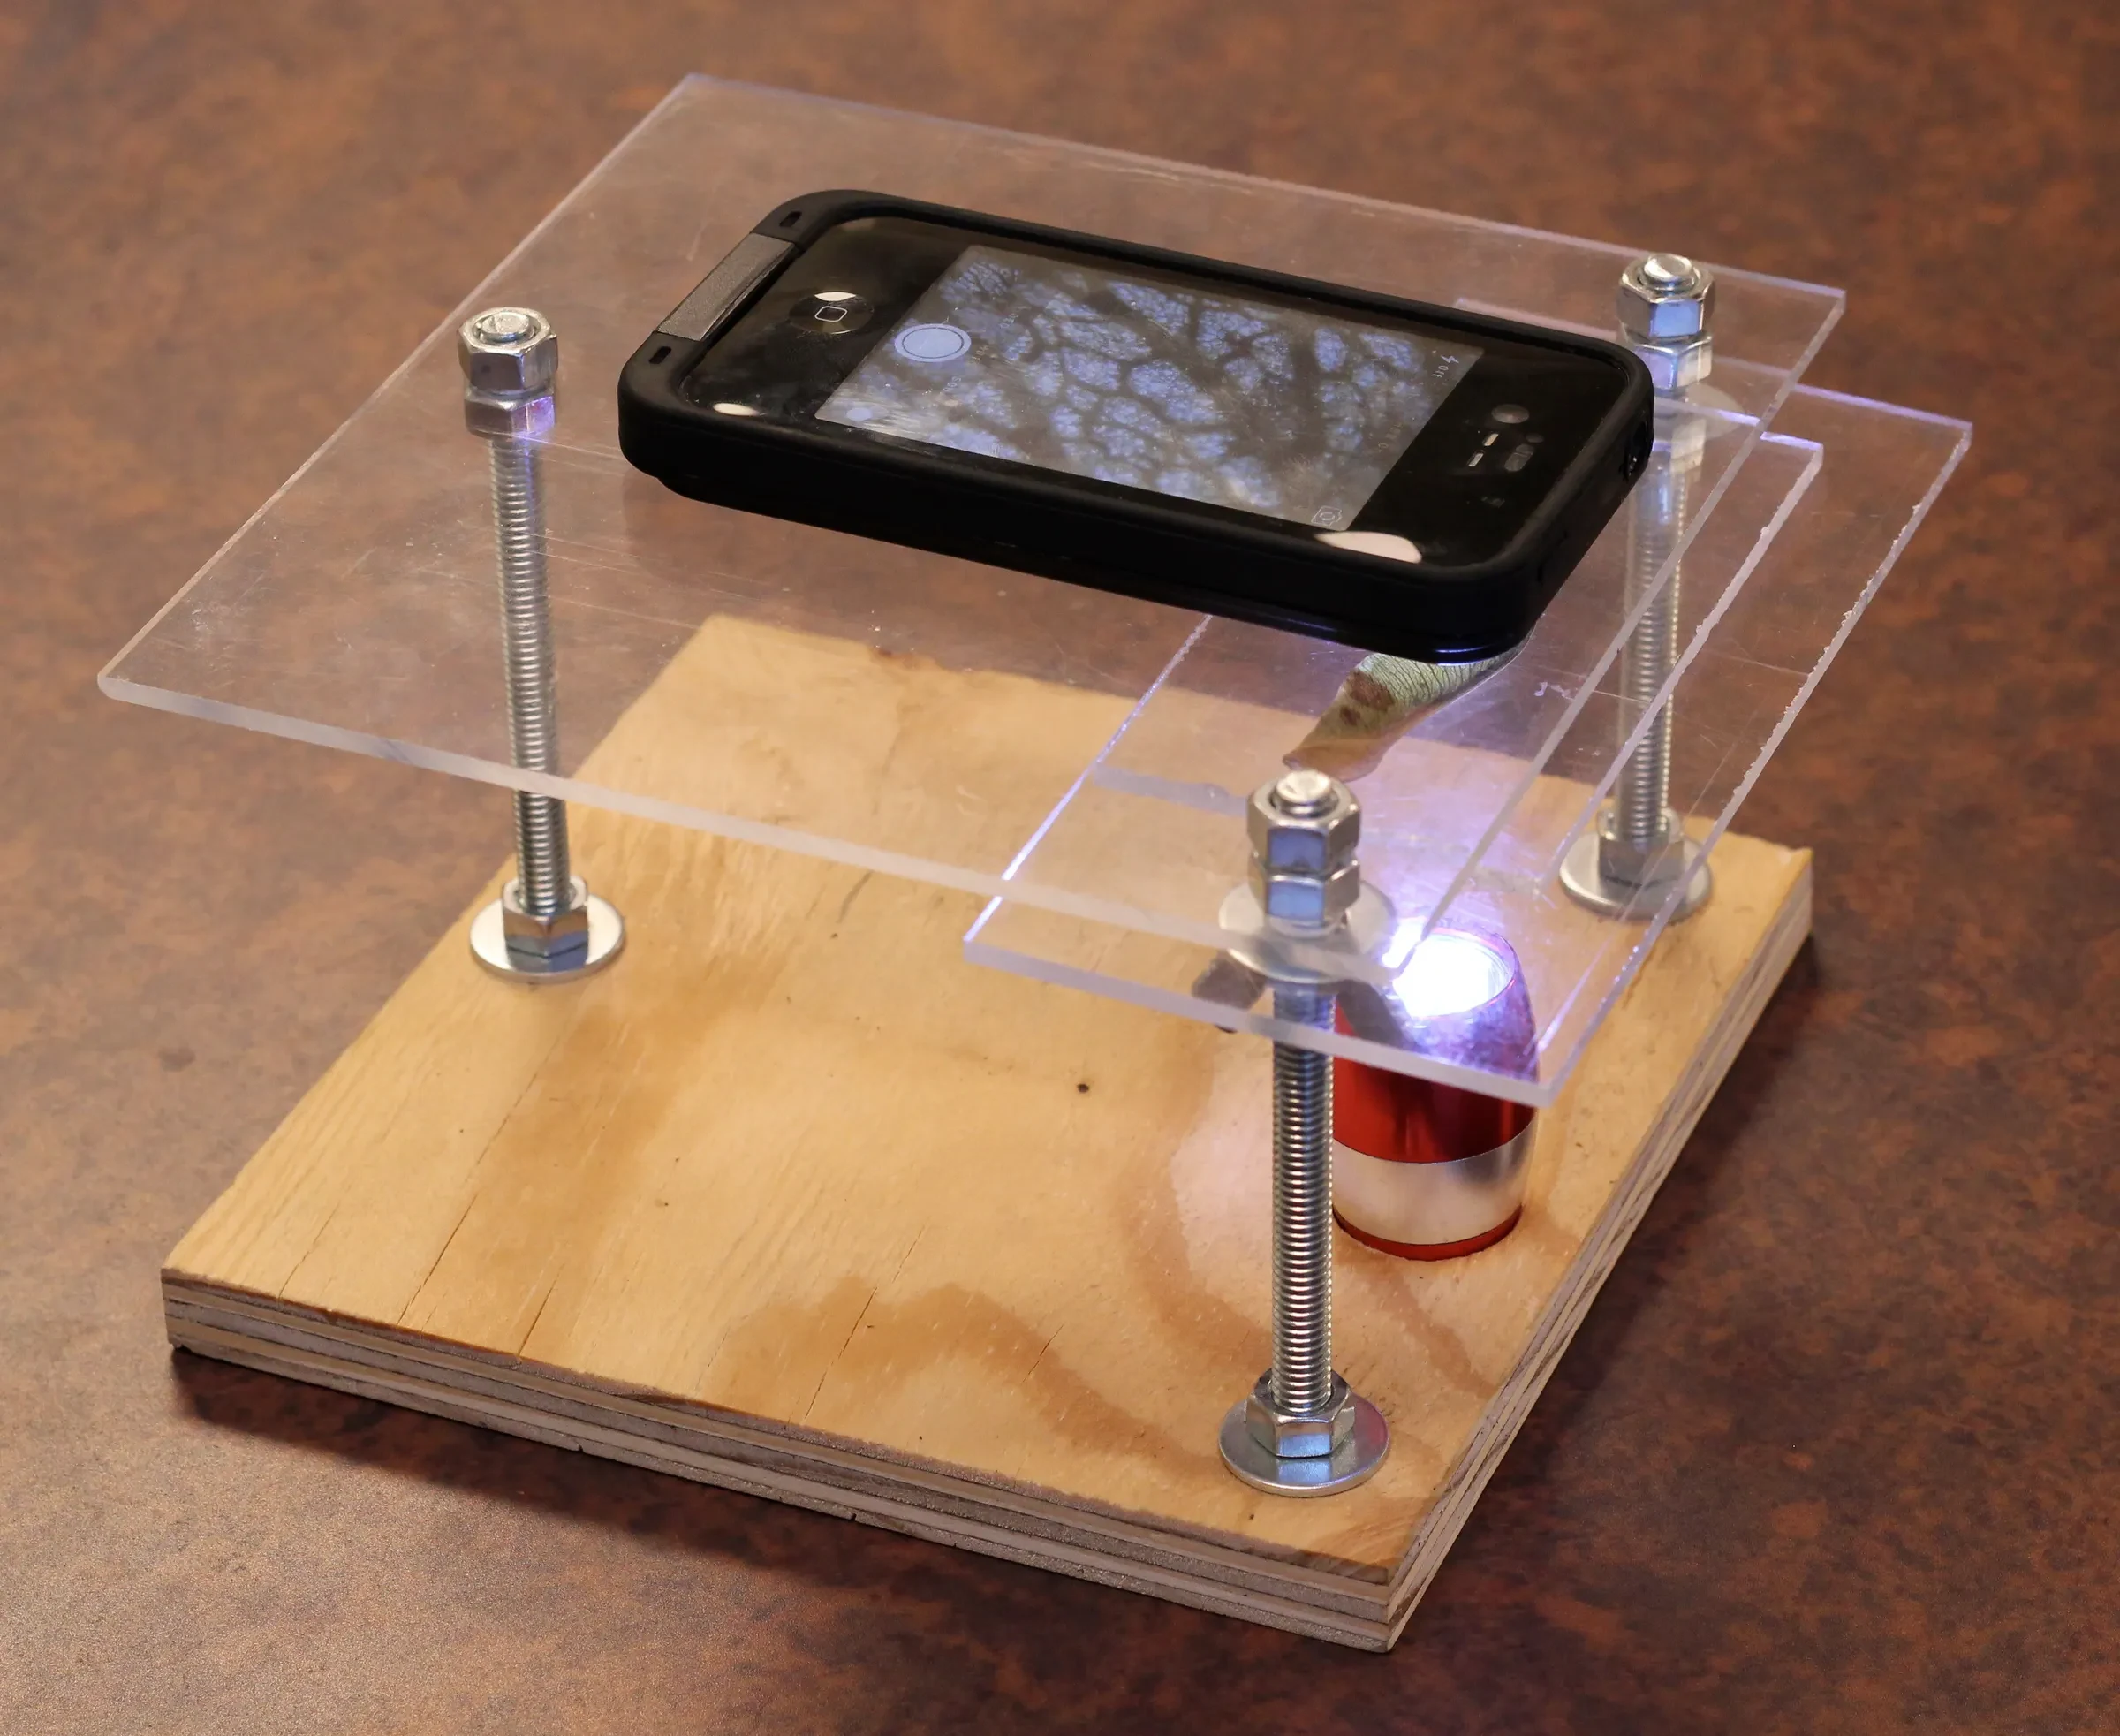
The world is an interesting place, but it's fascinating up close. Through the lens of a microscope you can find details that you would otherwise never notice. But now you can. This instructions will show you how to build a stand for about $10 that will transform your smartphone into a powerful digital microscope. This DIY conversion stand is more than capable of functioning in an actual laboratory setting. With magnification levels as high as 175x 375x Edit: with the addition of a second lens magnification can be as high as 375x, plant cells and their nuclei are easily observed! In addition to allowing the observation of cells, this setup also produces stunning macro photography. The photos in this instractions were taken with an iPhone 4S.
Step 1: Materials and Tools
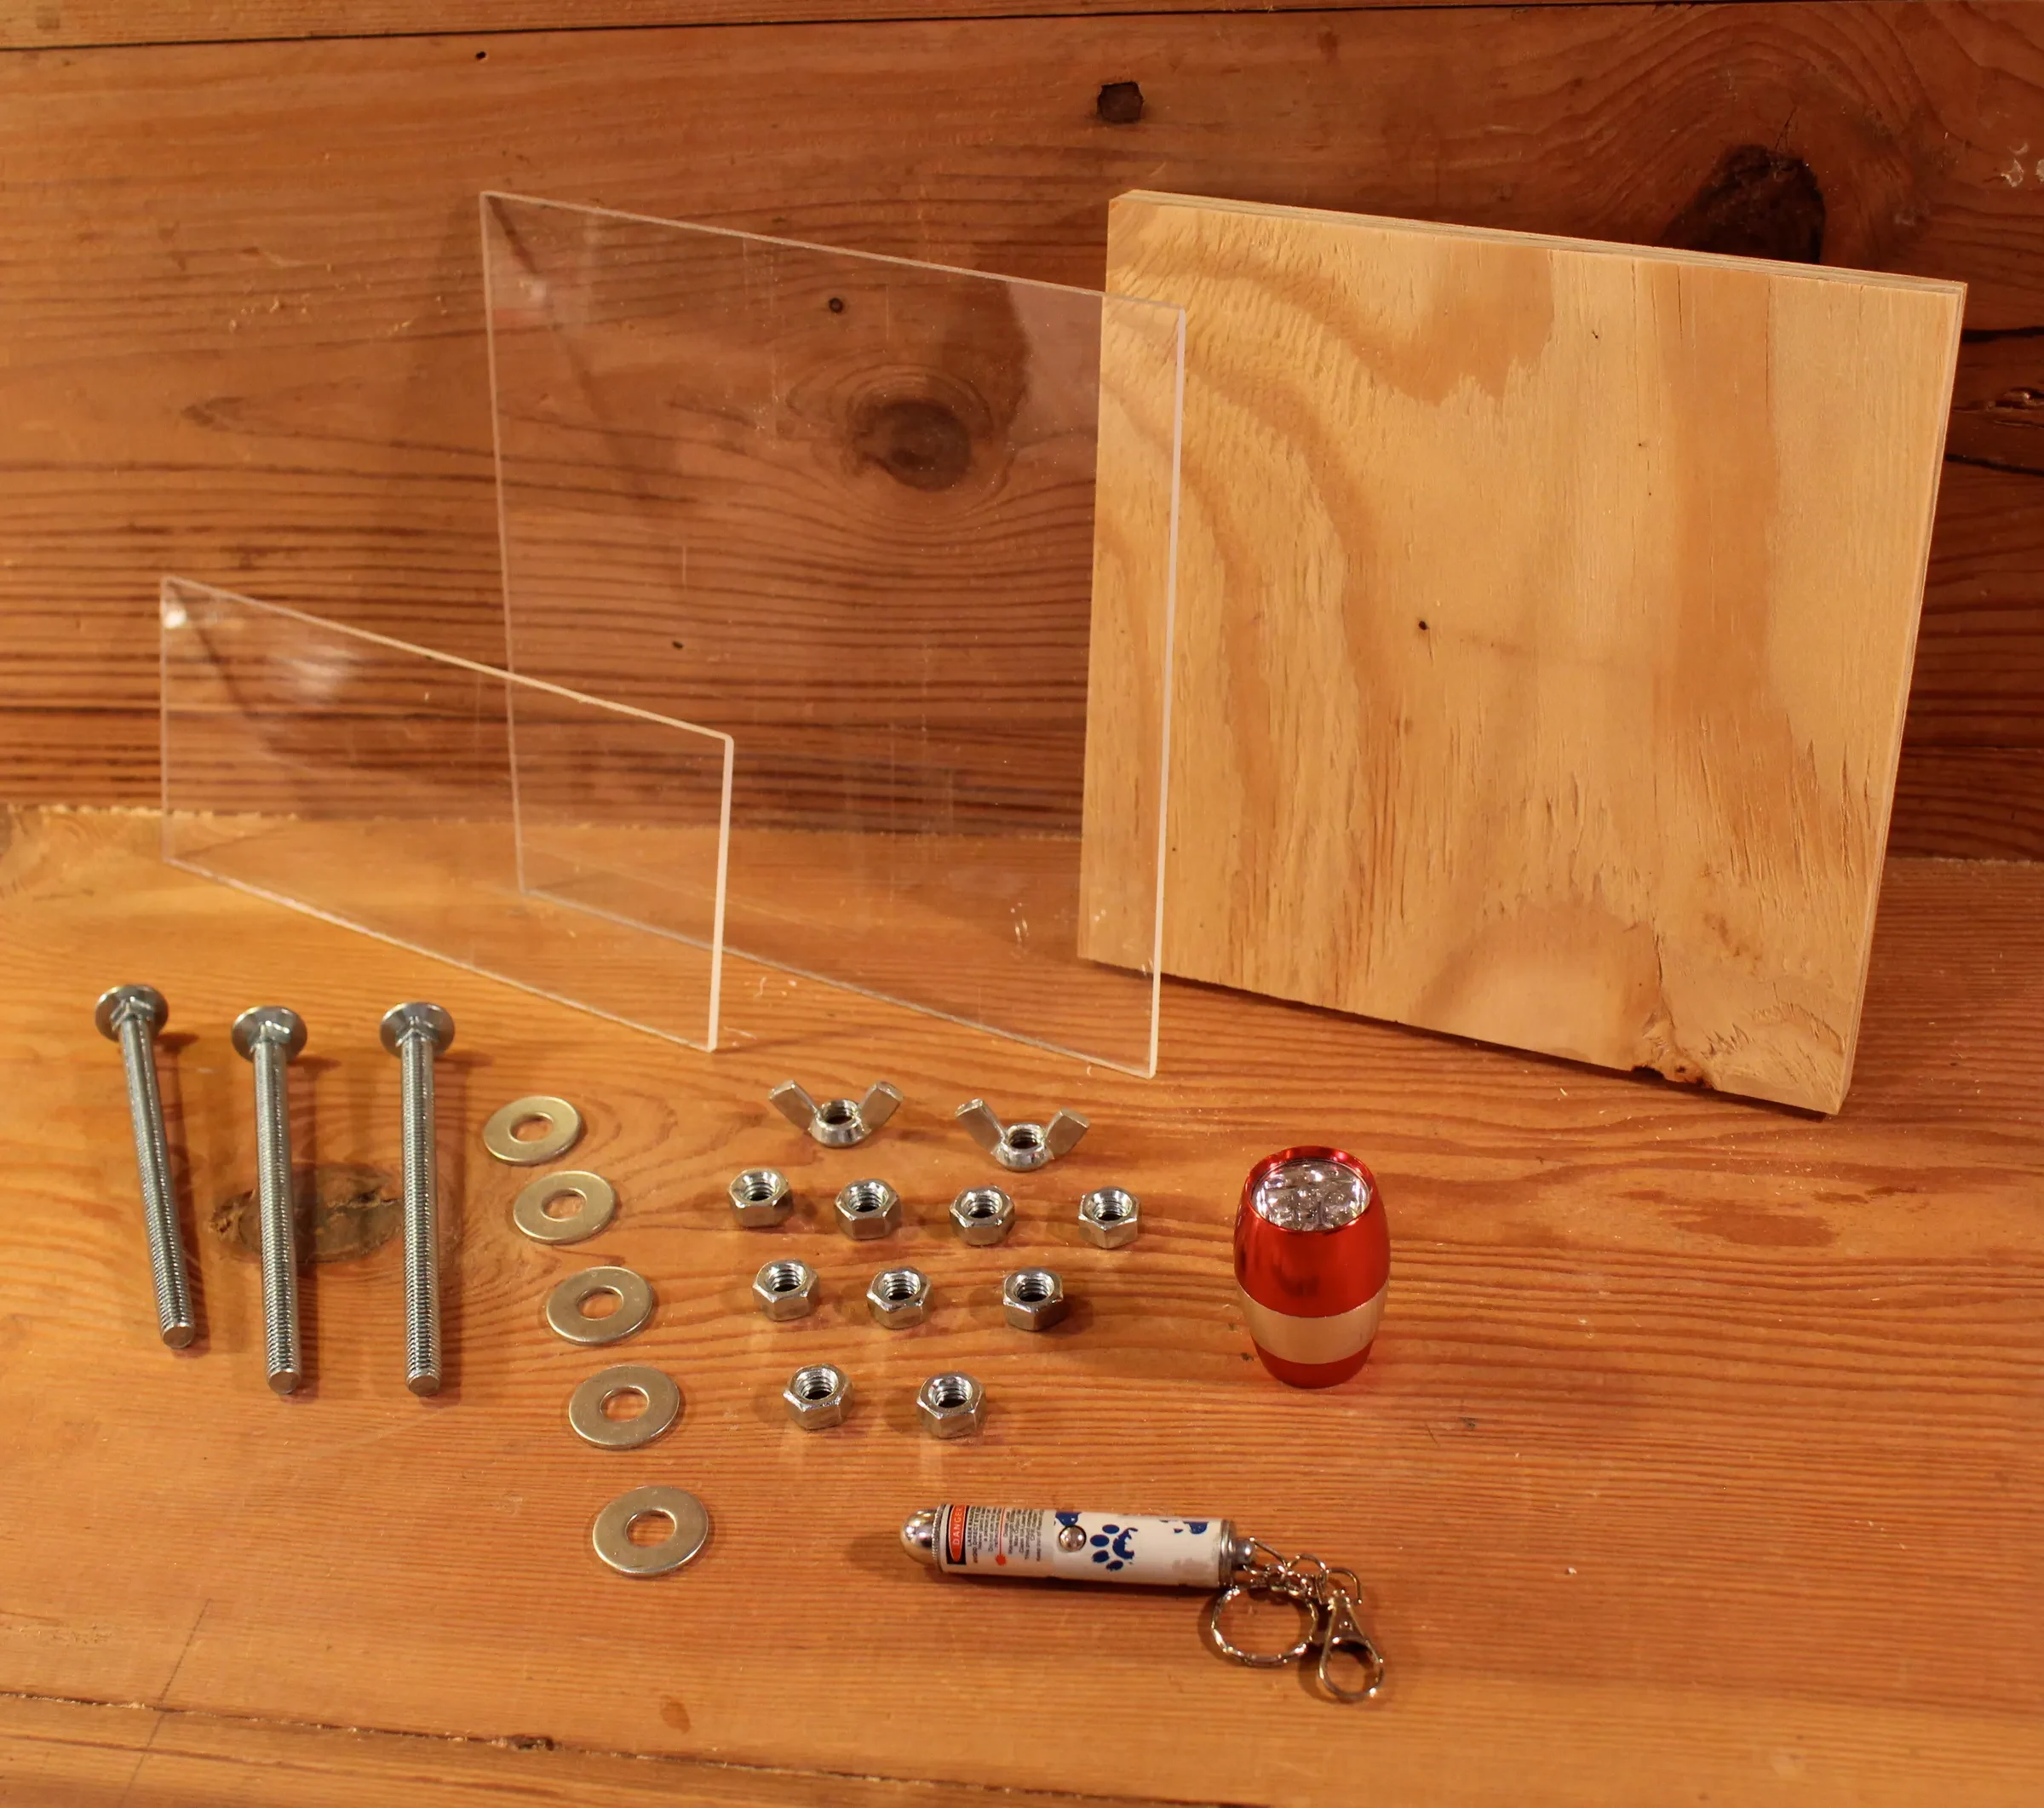
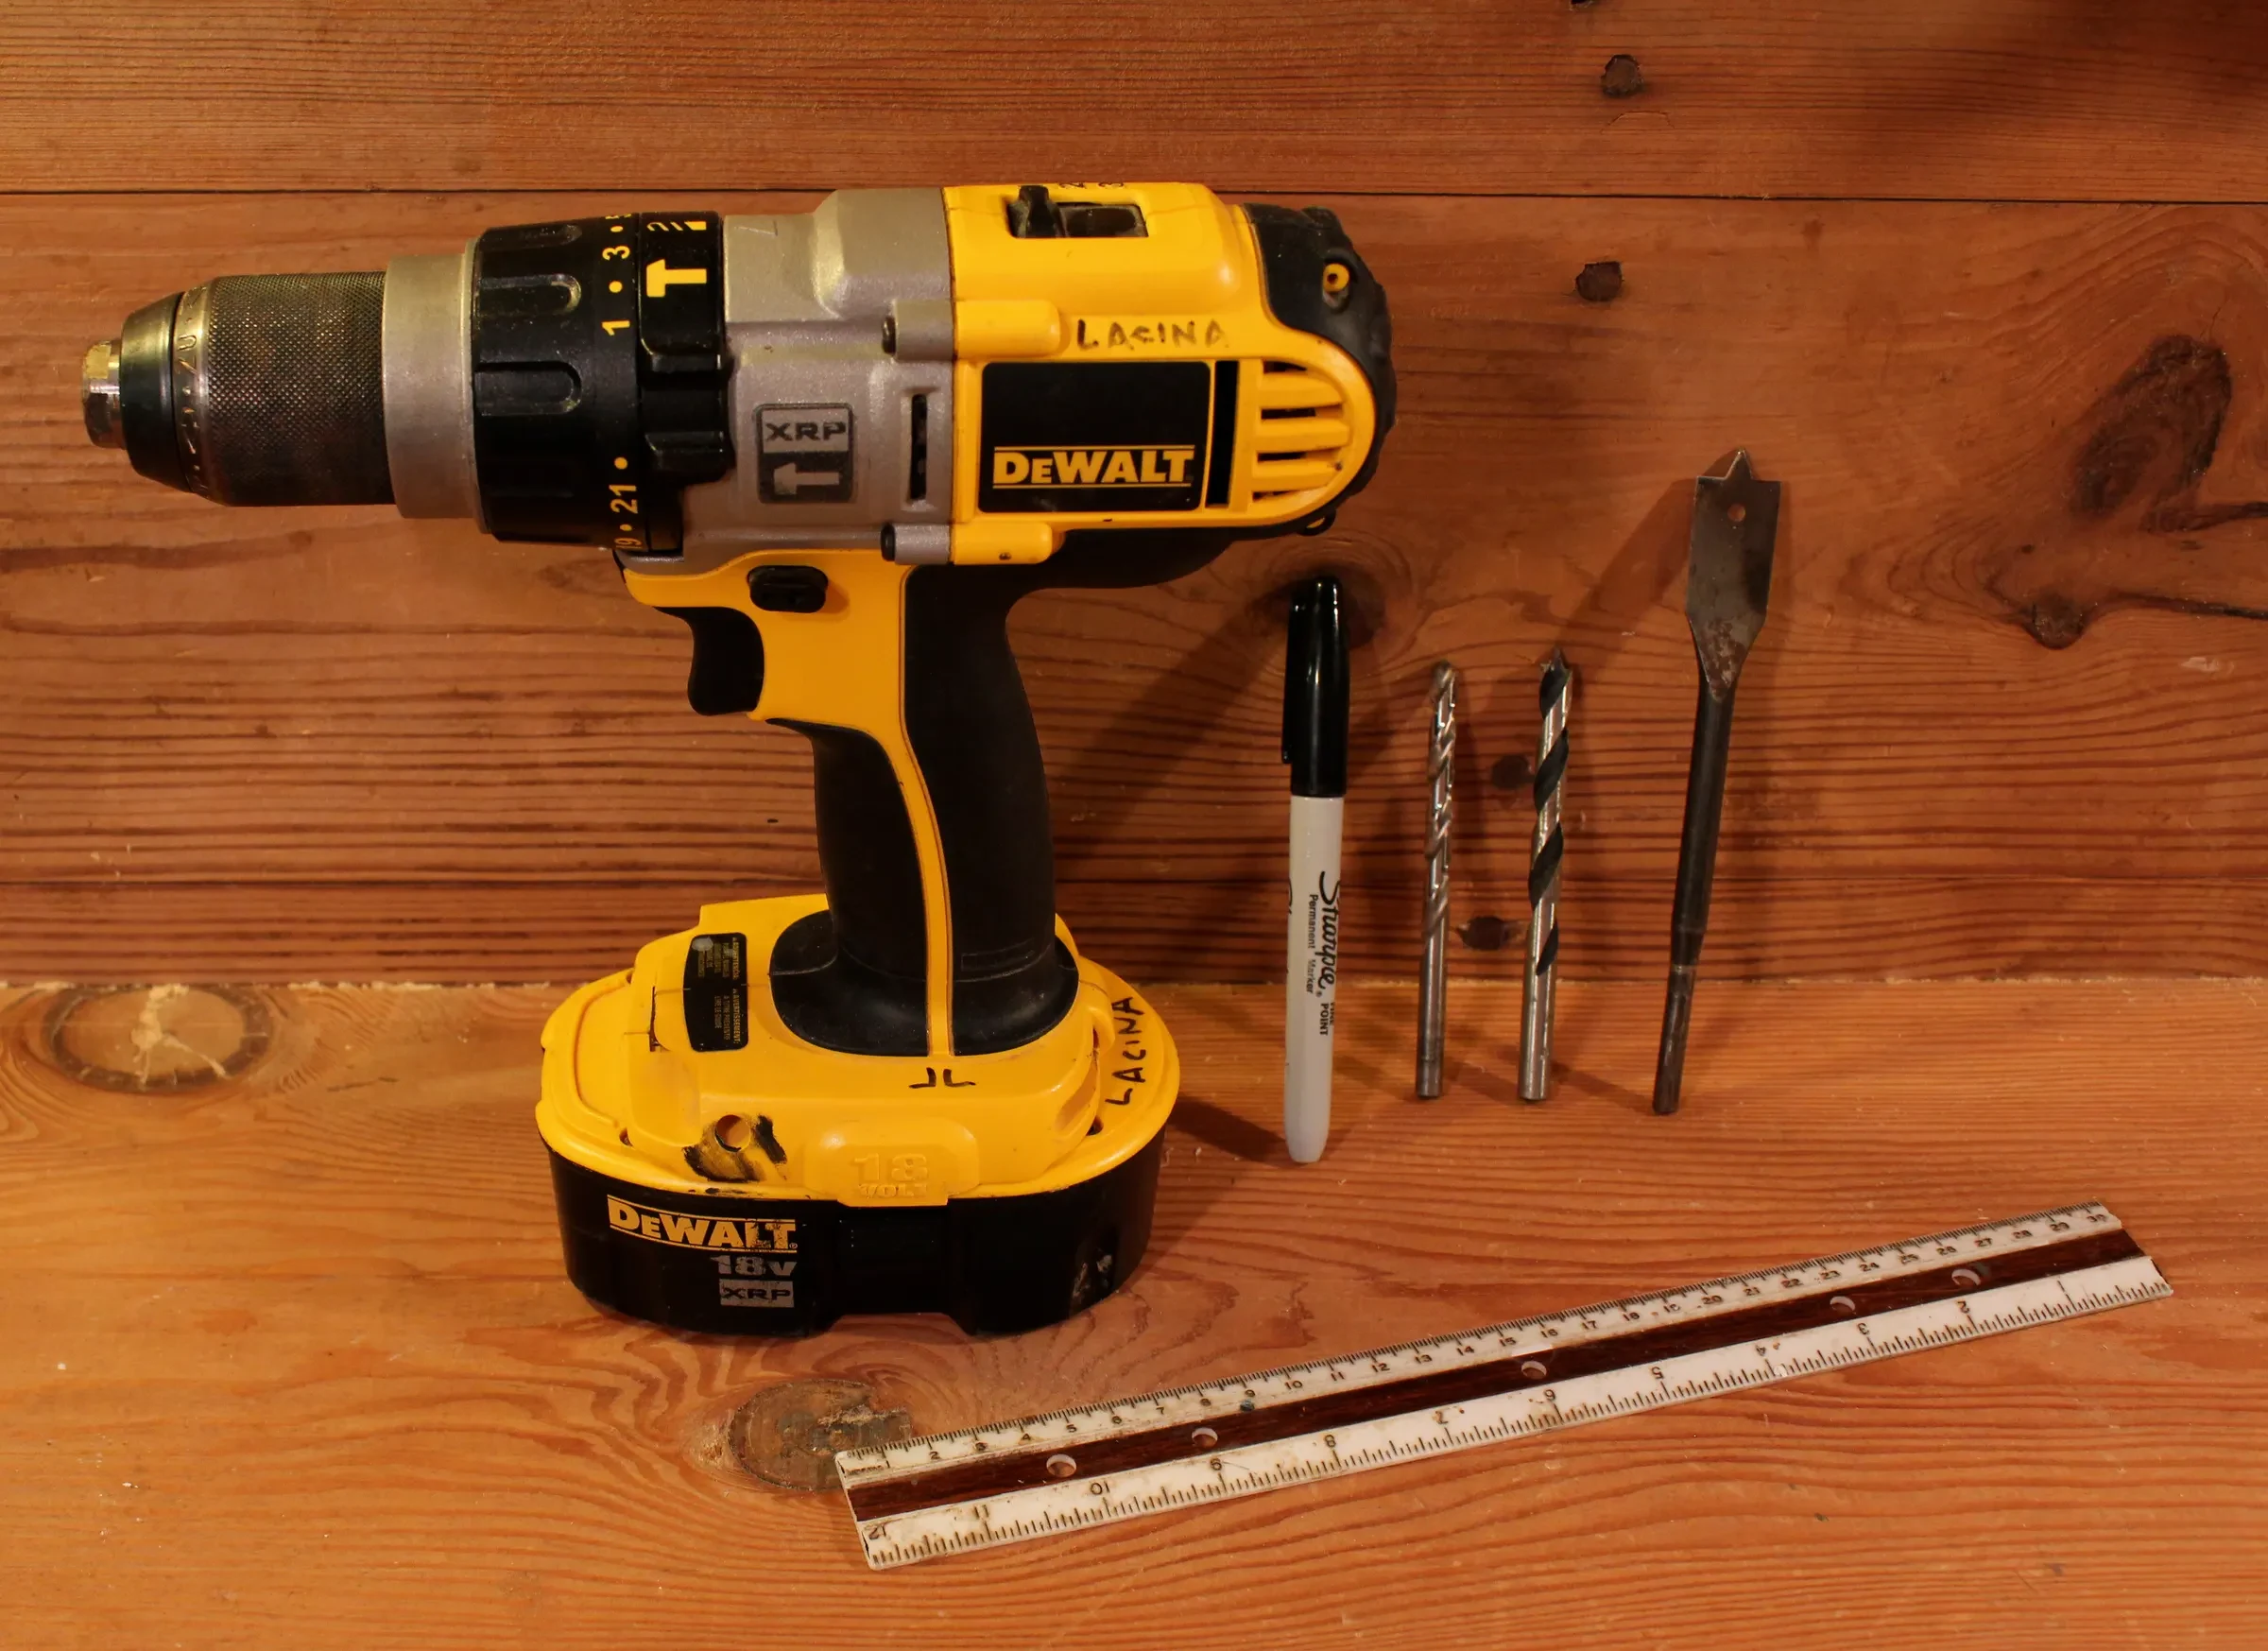
The cost of this project is just $10 (not counting the smartphone), and it only takes about 20 minutes to build. You can be viewing cells with your smartphone within the hour!
Materials required:
- 3x 114 mm x M8 carriage bolts
- 9x M8 nuts
- 3x M8 wing nuts
- 5x M8 washers
- 19 mm x 178 mm x 178 mm plywood -- for the base
- 3 mm x 178 mm x 178 mm plexiglass -- for the camera stage
- 3 mm x 76 mm x 178 mm plexiglass -- for the specimen stage
- Scrap plexi (~ 50 mm x 100 mm) for specimen slide (optional but useful)
- Laser pointer focus lens (use two for increased magnification)
- LED click light (necessary only for viewing backlit specimens)
Step 2: Getting the Lens From a Laser Pointer
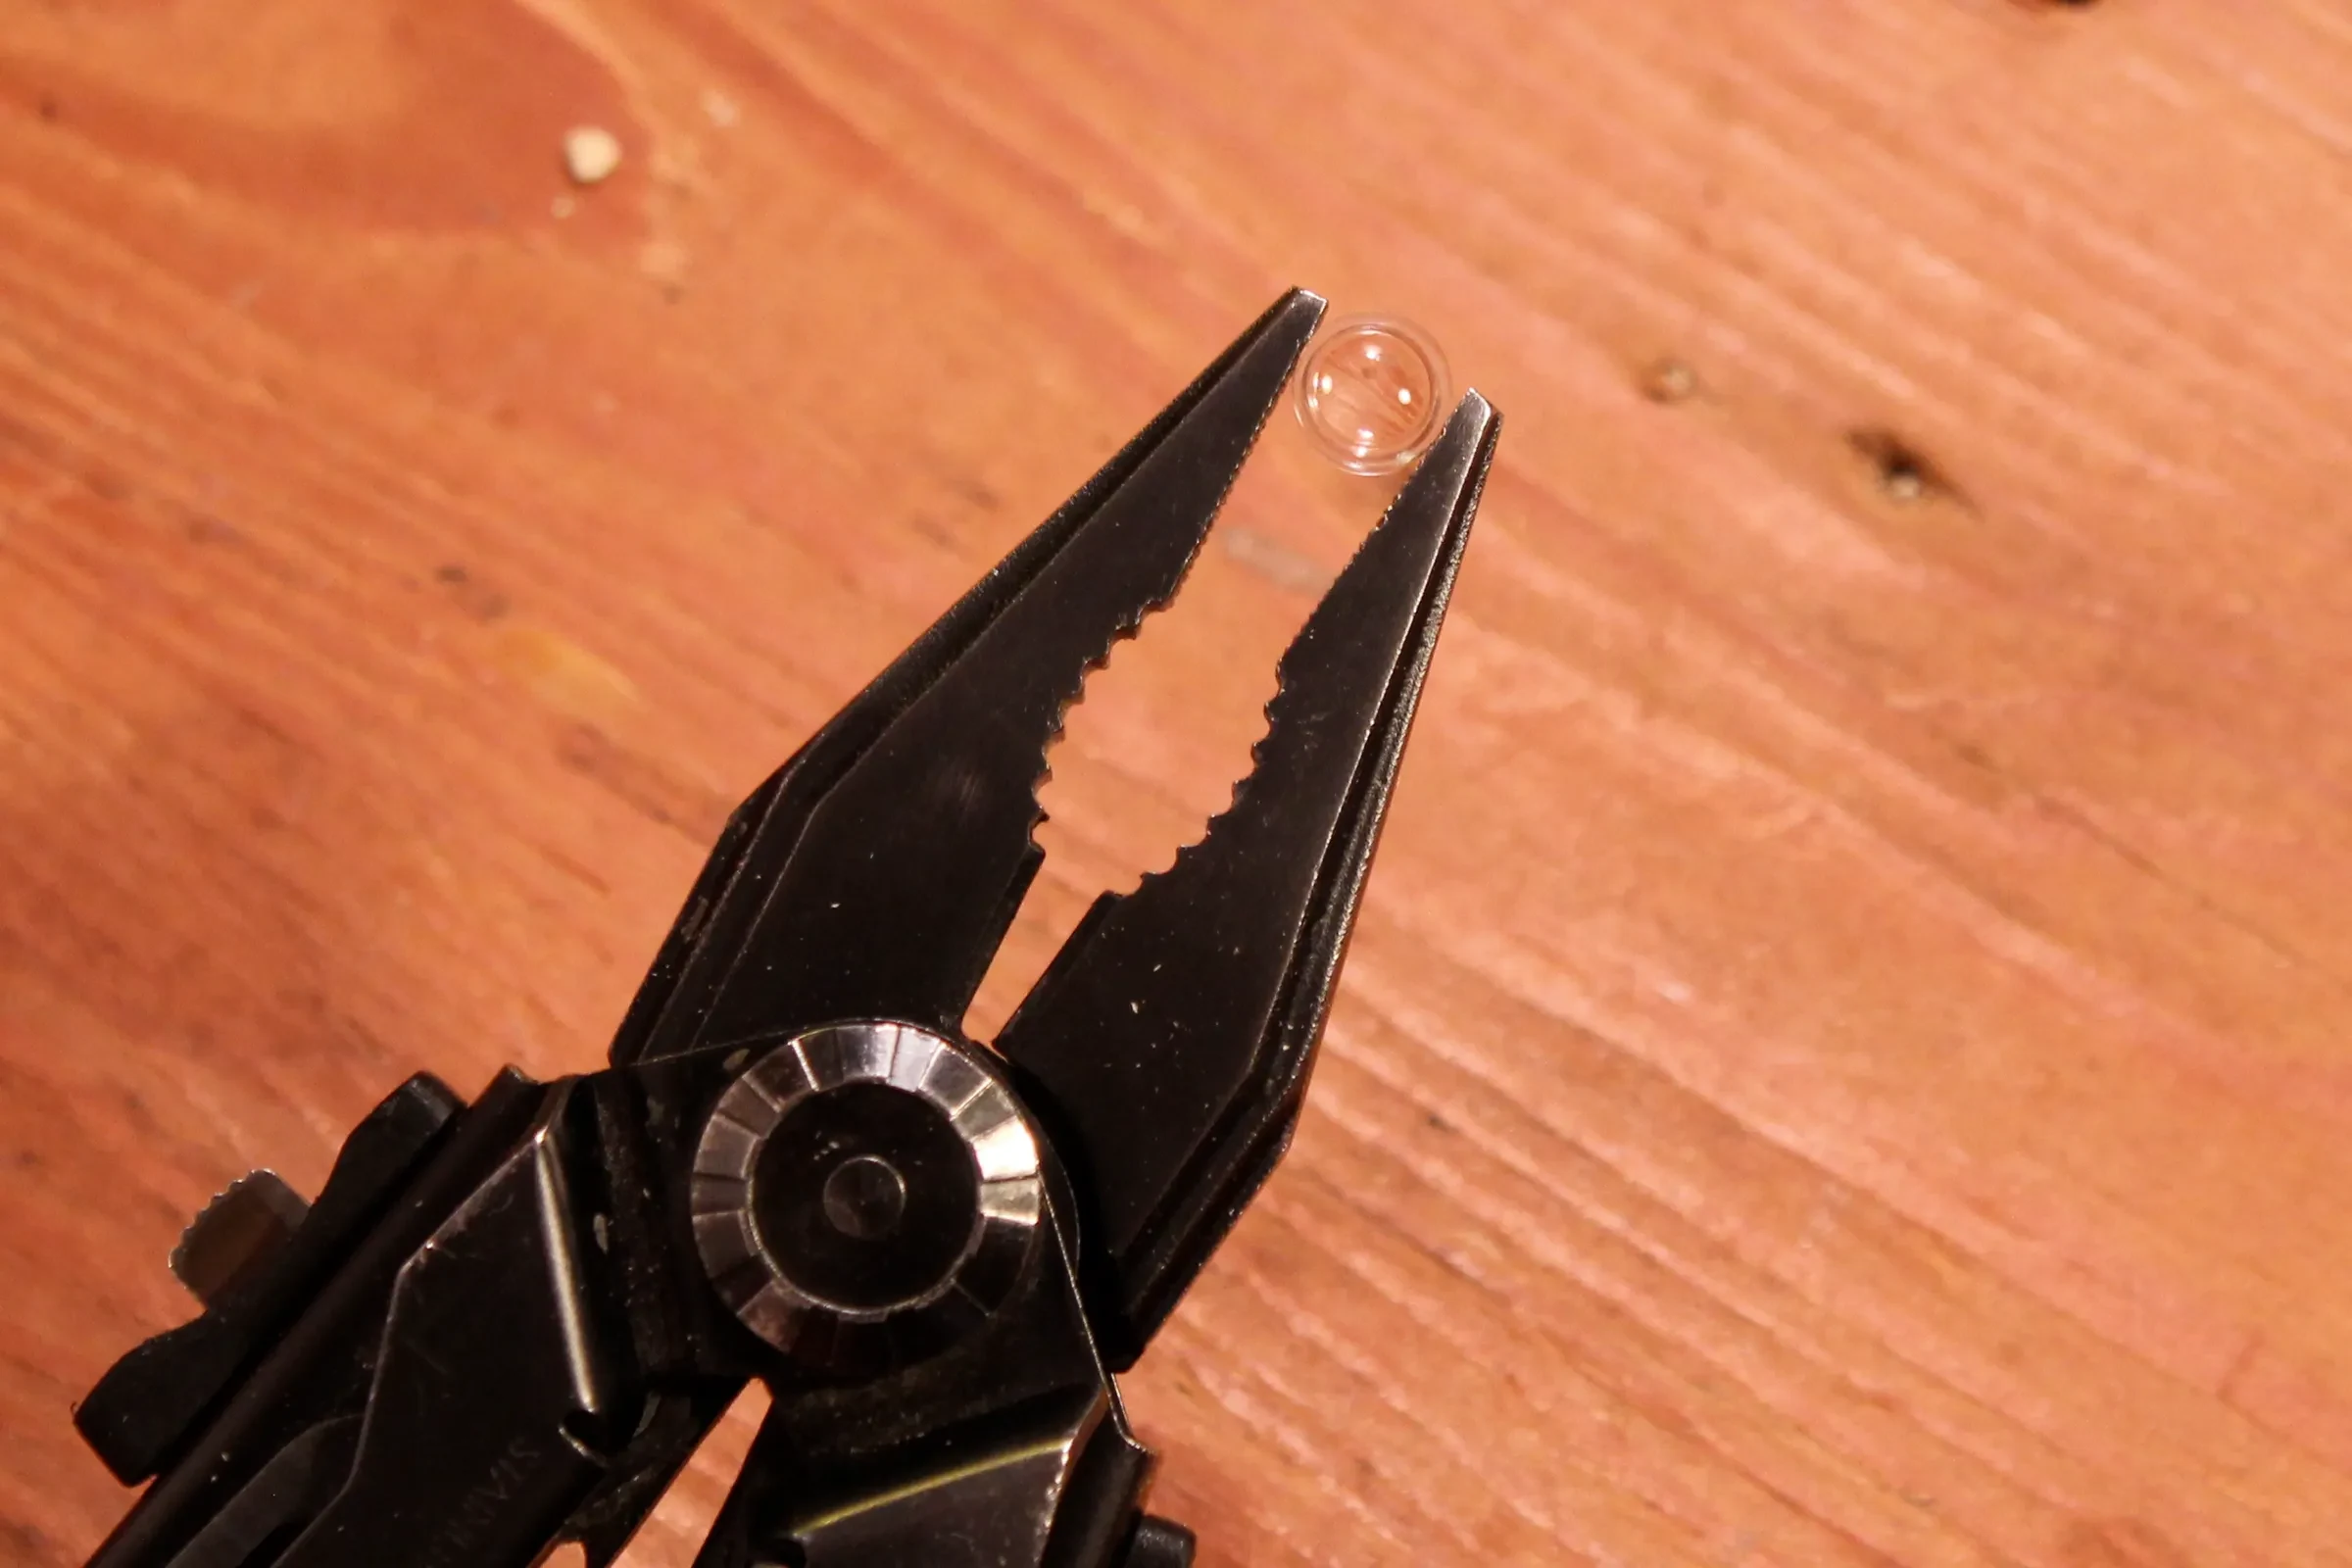
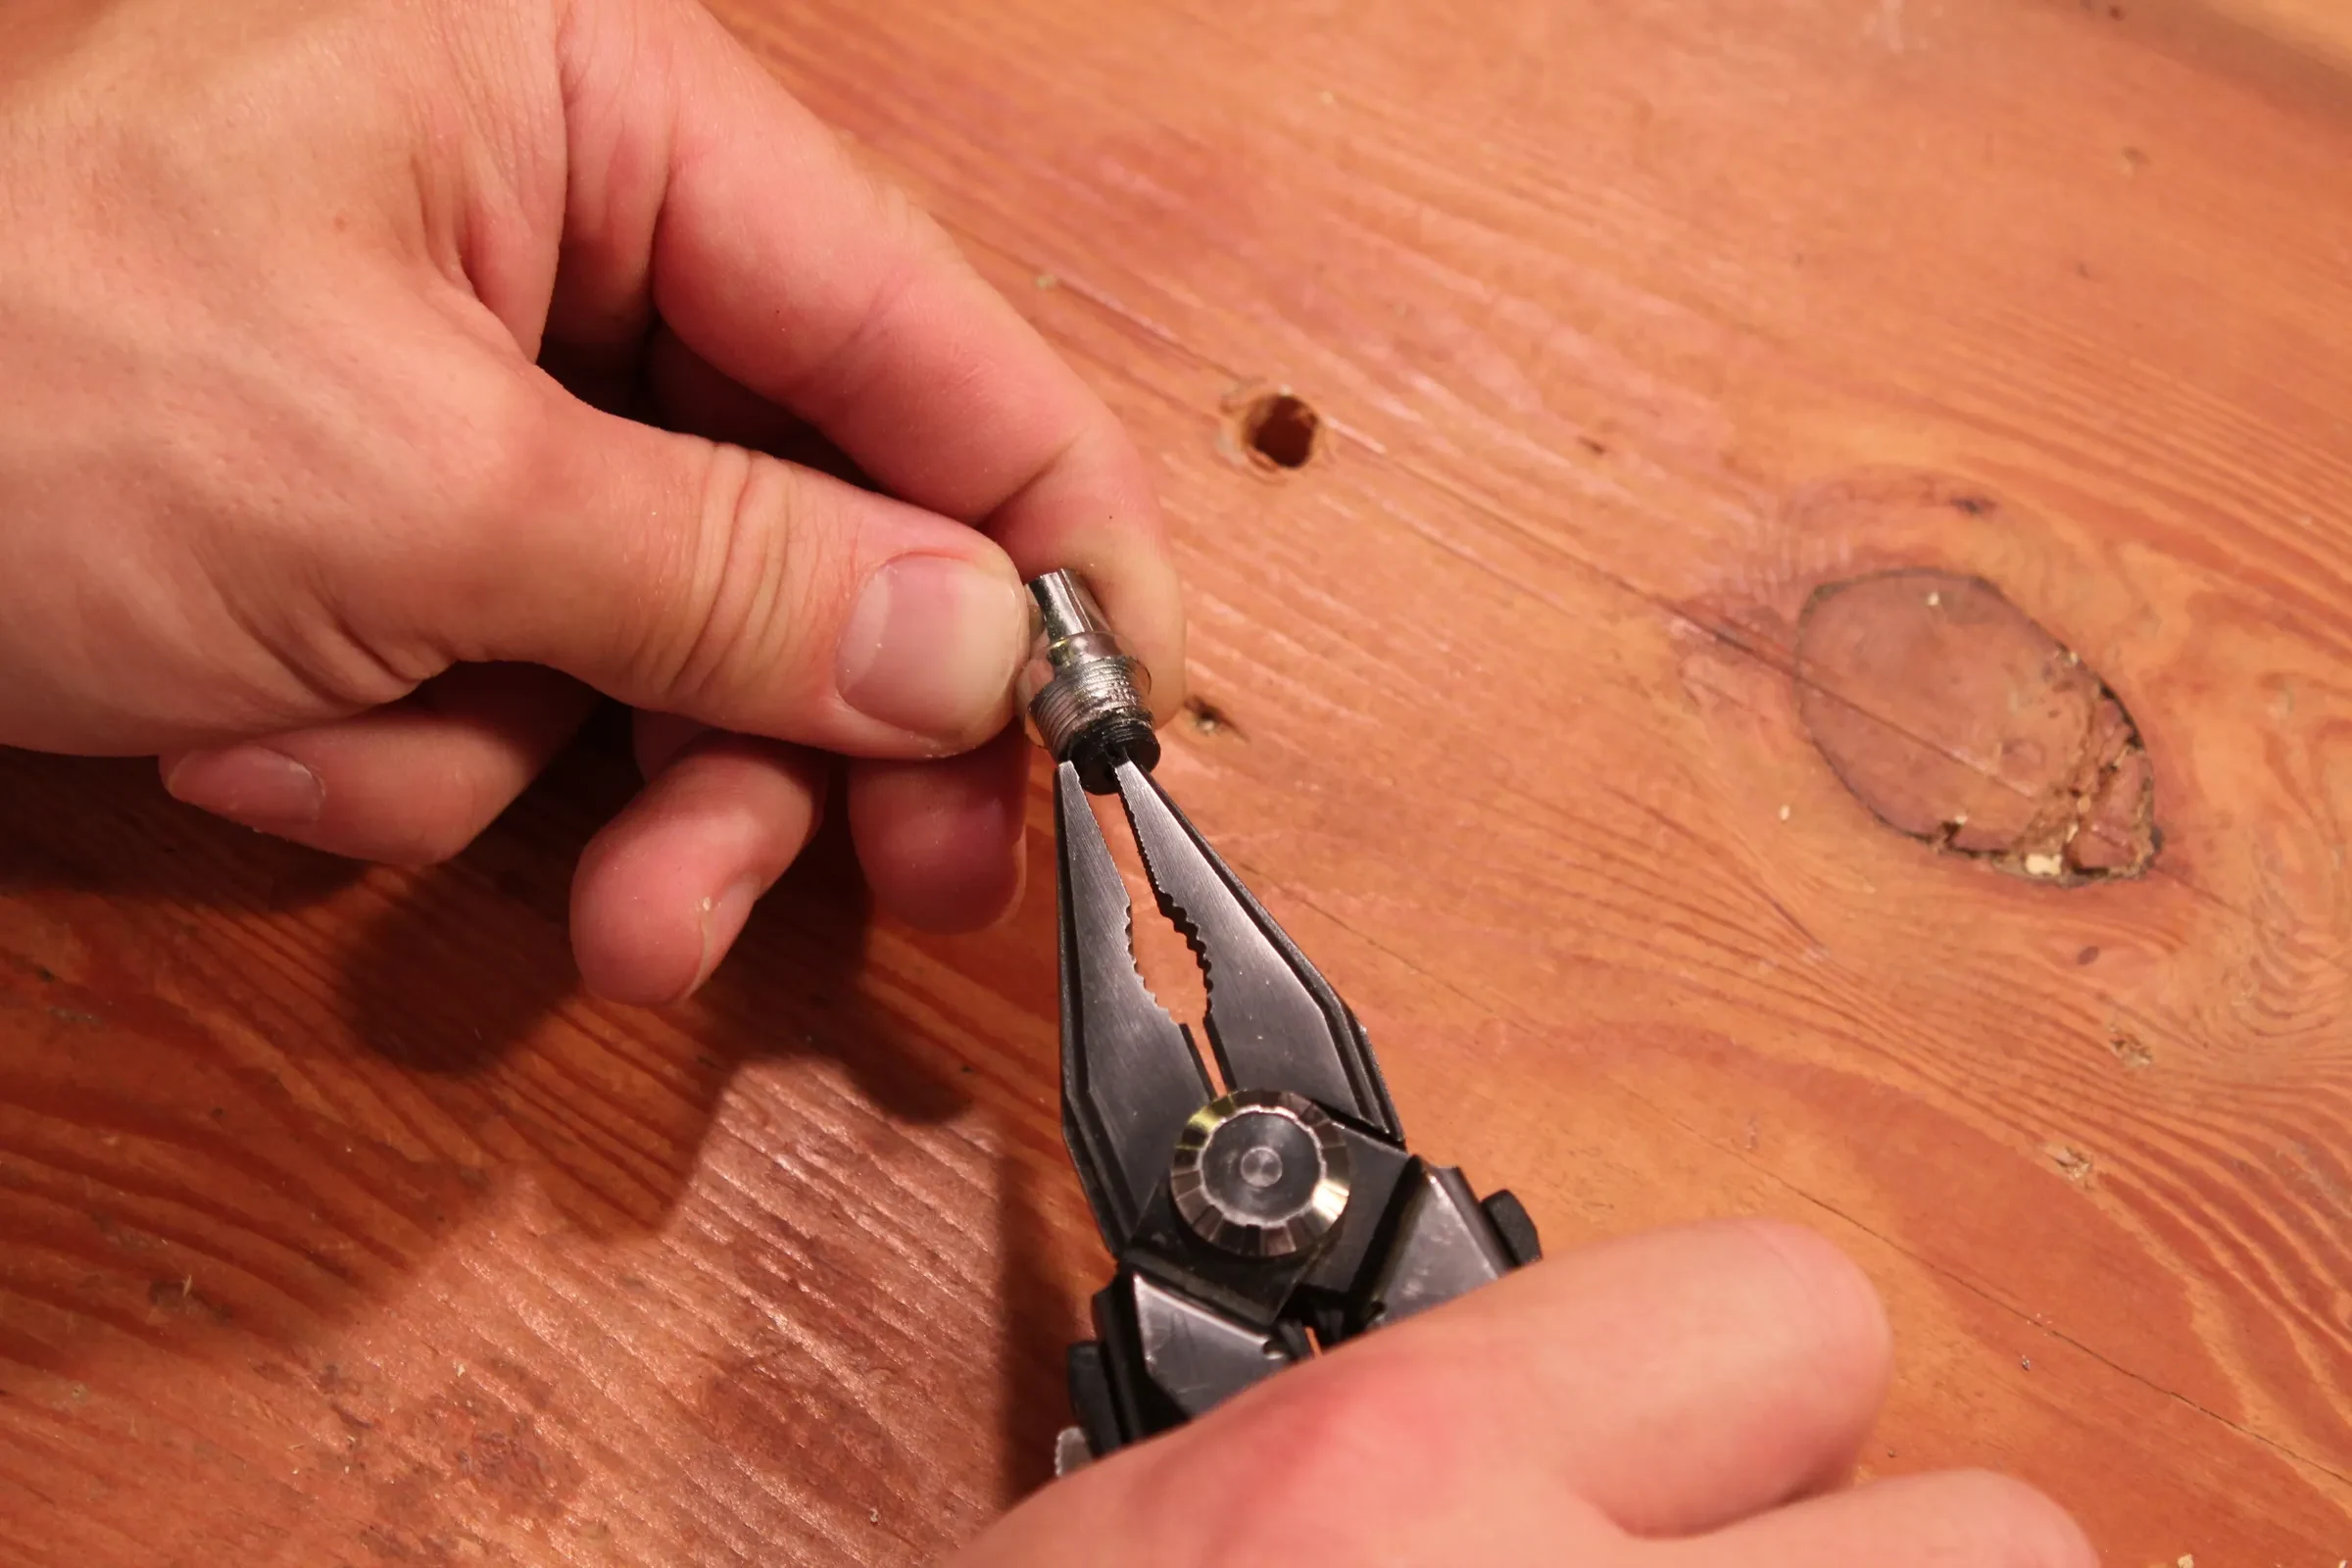
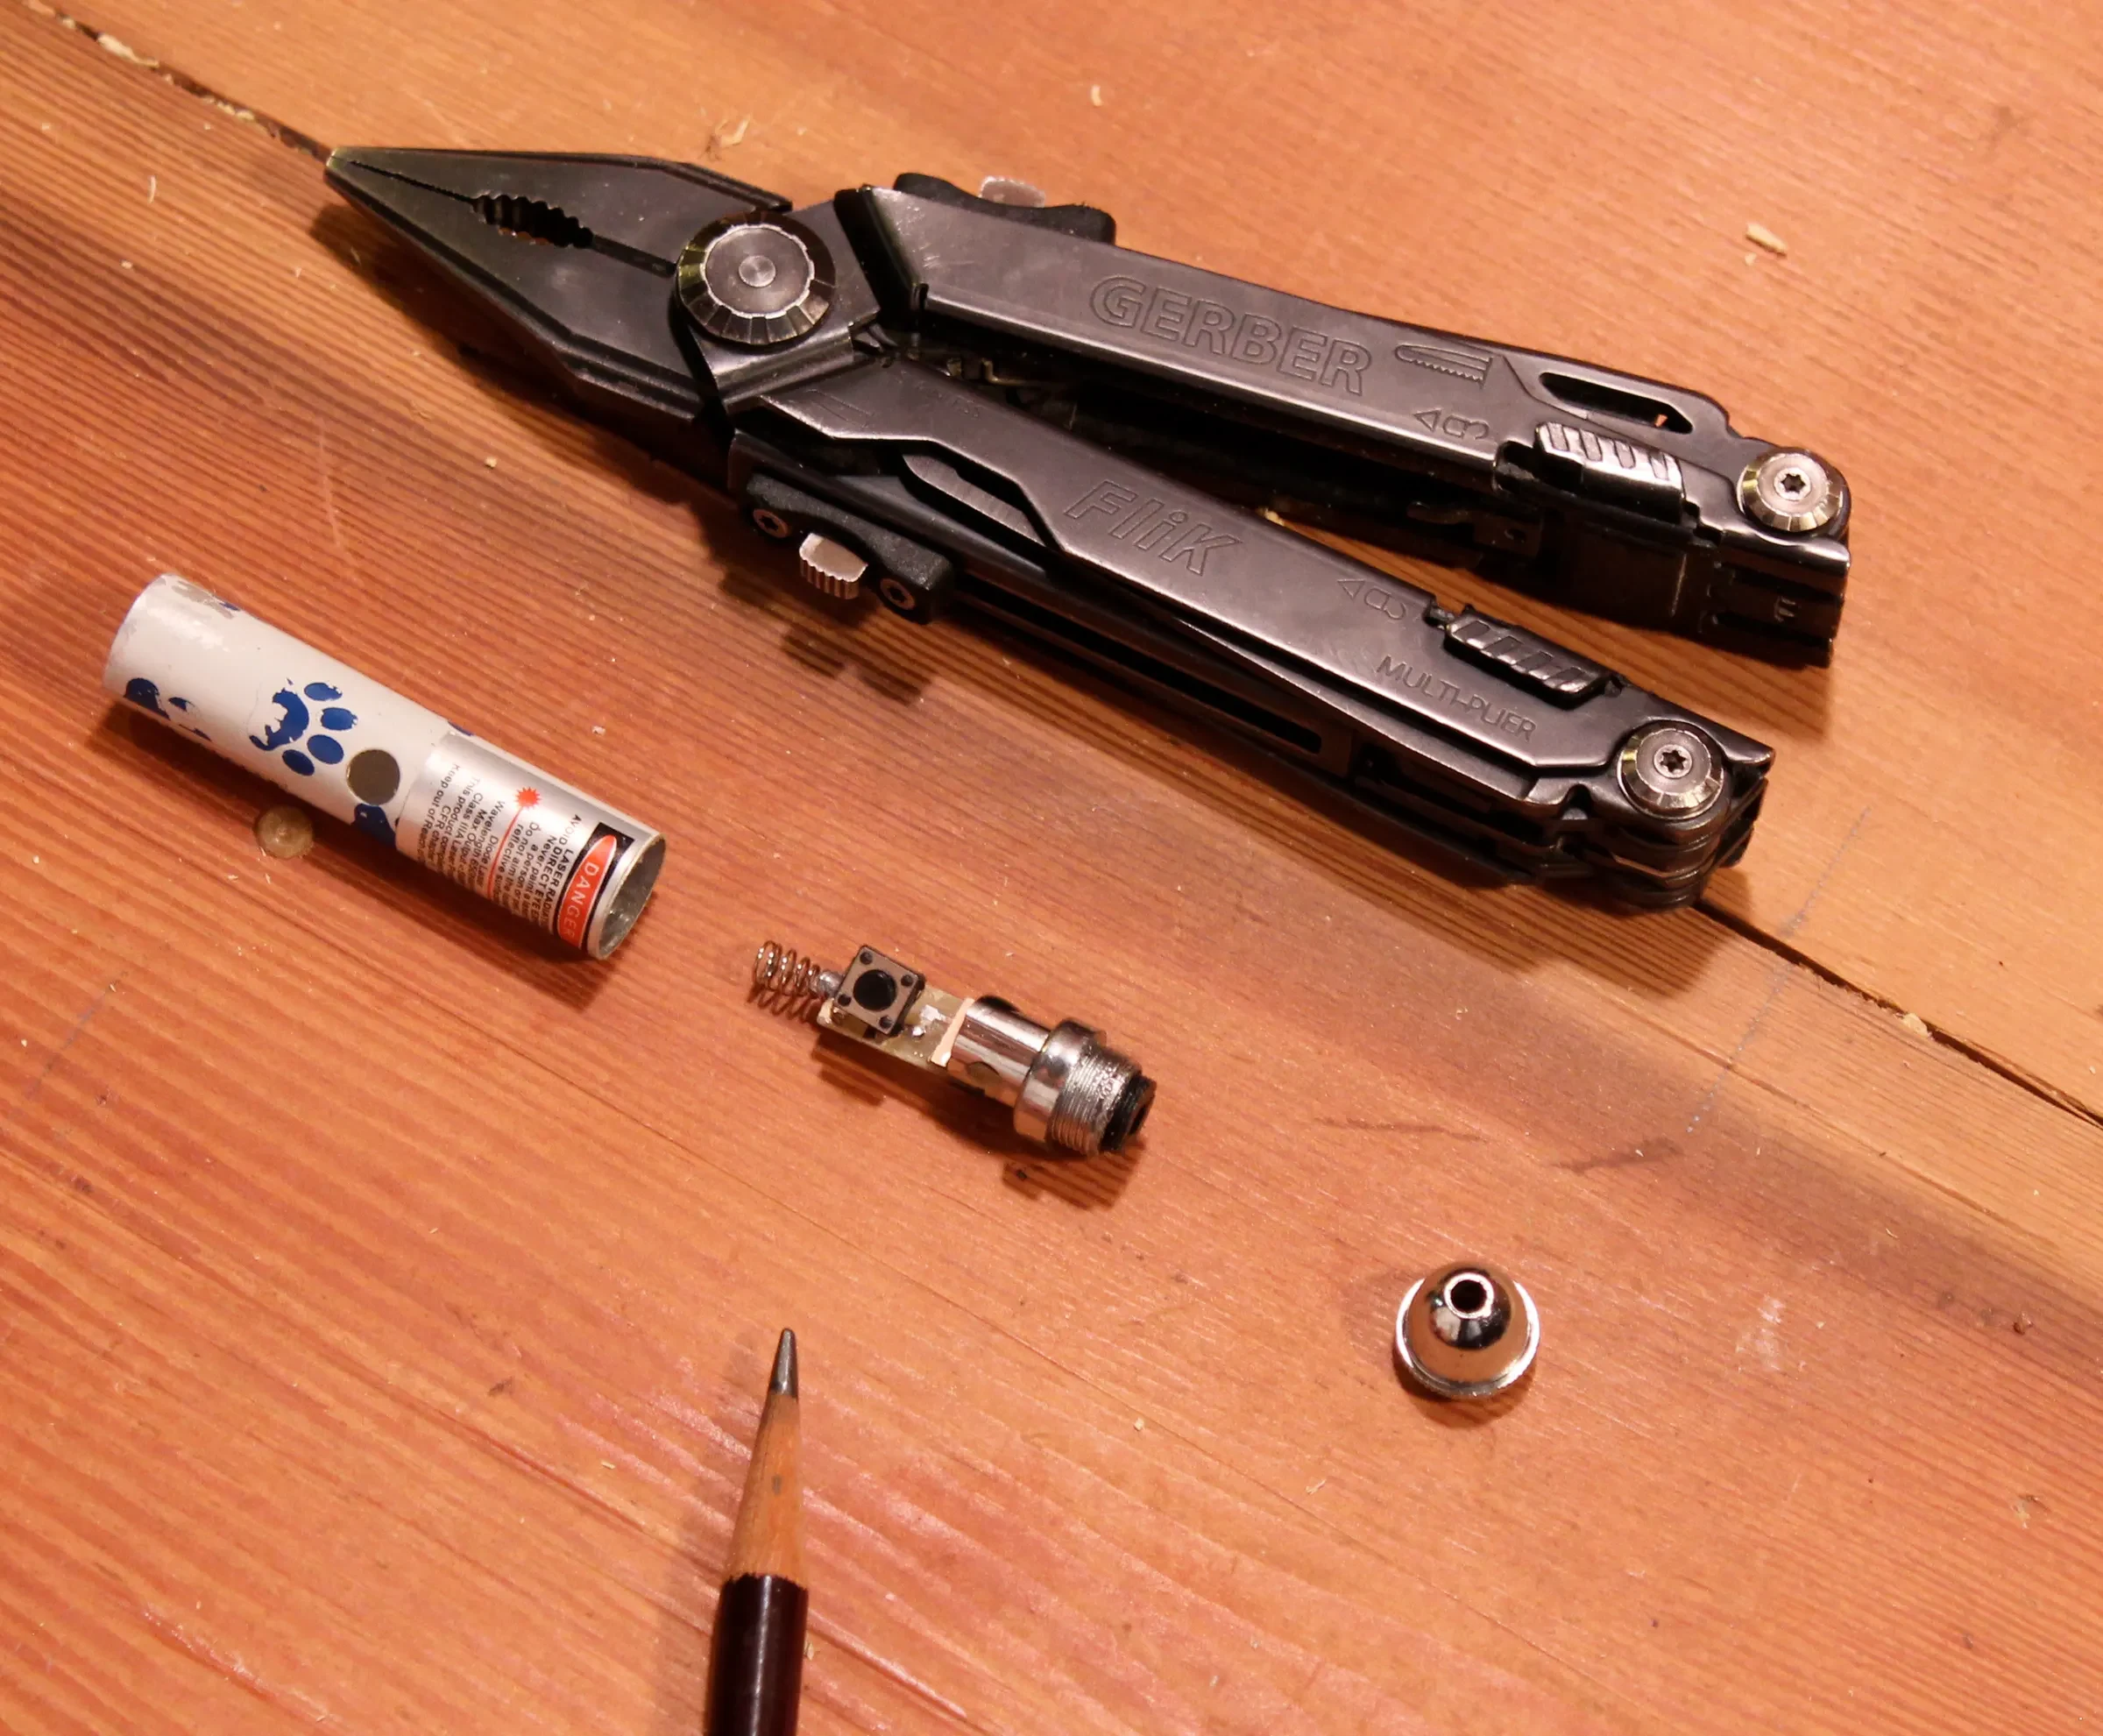
The focus lens of just about any laser pointer will act as the macro lens on the microscope stand. Don't waste money on an expensive model; the lens from the $2 laser is fine. EDIT: To achieve higher magnification (up to 375x), use a second lens! To get the lens from the laser pointer start by unscrewing the front cone and the back cover of the tube. Remove the batteries. Using the eraser end of a pencil, push the innards out of the front of the tube. The front of this assembly (the side without the spring to contact the batteries) is where the focus lens sits. Unscrew the small black piece of plastic in front of the lens and the lens will come free.
Step 3: A Few Notes on the Lens...
The lens, when viewed from the side is not symmetrical. You’ll see a thin translucent strip (~1mm) on one side of the lens. That side must not be adjacent to the camera. You can determine the correct orientation by sticking the lens between the prongs of a hairpin and taping the rig to the back of a smartphone. The correct orientation will provide you with a larger field of view. As it is, you can take reasonably good macro photos with this lens and smartphone. This simple rig is limited; not to mention, it’s extremely hard to keep the phone steady when taking zoomed in photos. That’s why we need to build a stand!
Step 4: Drilling the Bolt Holes
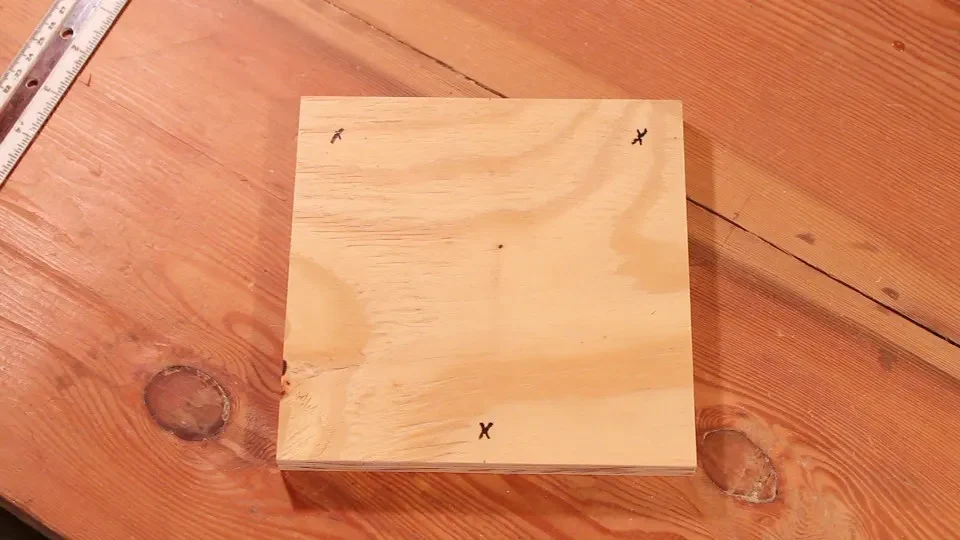
Make a mark with a Sharpie on the front two corners of the plywood base 19 mm from both the sides and the front edges. Put a sacrificial piece of wood beneath the plywood base before drilling. You don’t want to damage surface of the bench! Stack the plexiglass camera stage (178 mm x 178 mm piece) on top of the base. Then stack the specimen stage (76 mm x 178 mm) on top of the camera stage with 19 mm of the stage extending off the front of the base. Drill through the entire assembly. The bolts that stick up through the base must be countersunk in order for the stand to sit flat. Flip the base over and counter sink the holes with a spade bit. EDIT: A few tips on NOT cracking the plexiglass when drilling…First, go slow. Let the drill do the work and DO NOT press down hard on the drill. Use a sharp bit and press gently on the drill. You can also put a piece of tape over the area that you wish to drill through. It will reduce the chance of cracking the plexi.
Step 5: Embedding the Lens
Find a drill bit that is the same size as or smaller than the diameter of the lens. Remember, you can always take more plexi away; adding extra plexiglass after drilling is not an option. 19 mm from the front of the camera stage (in line with the bolt holes) drill a hole for the lens. If the lens doesn’t quite fit, file or use sandpaper to enlarge the hole. Be sure to do this slowly and test the fit often. It is easy to overshoot and make the hole too large! When using the stand, it is important to have the lens as close as possible to the camera. If you don’t plan on having your phone in a case when you use the stand, make the lens flush with the stage. Otherwise, leave the top of the lens slightly exposed (as is done in the image) so that the lens will rest closer to the camera. EDIT: If you are using TWO lenses, stack them on top of another. Insert one lens from below the plexiglass and the second from above.
Step 6: Drilling the Hole for the Light Source
It is important that a hole for your light source is directly below the focus lens. The best way to mark the placement of the light is to slide the camera stage (without the lens) down to the base, mark with a pencil where the hole is to be drilled, and drill a shallow hole to rest the light in.
Responses
Loading responses...